Create open source Time Lapse Videos from photos
Choose your location
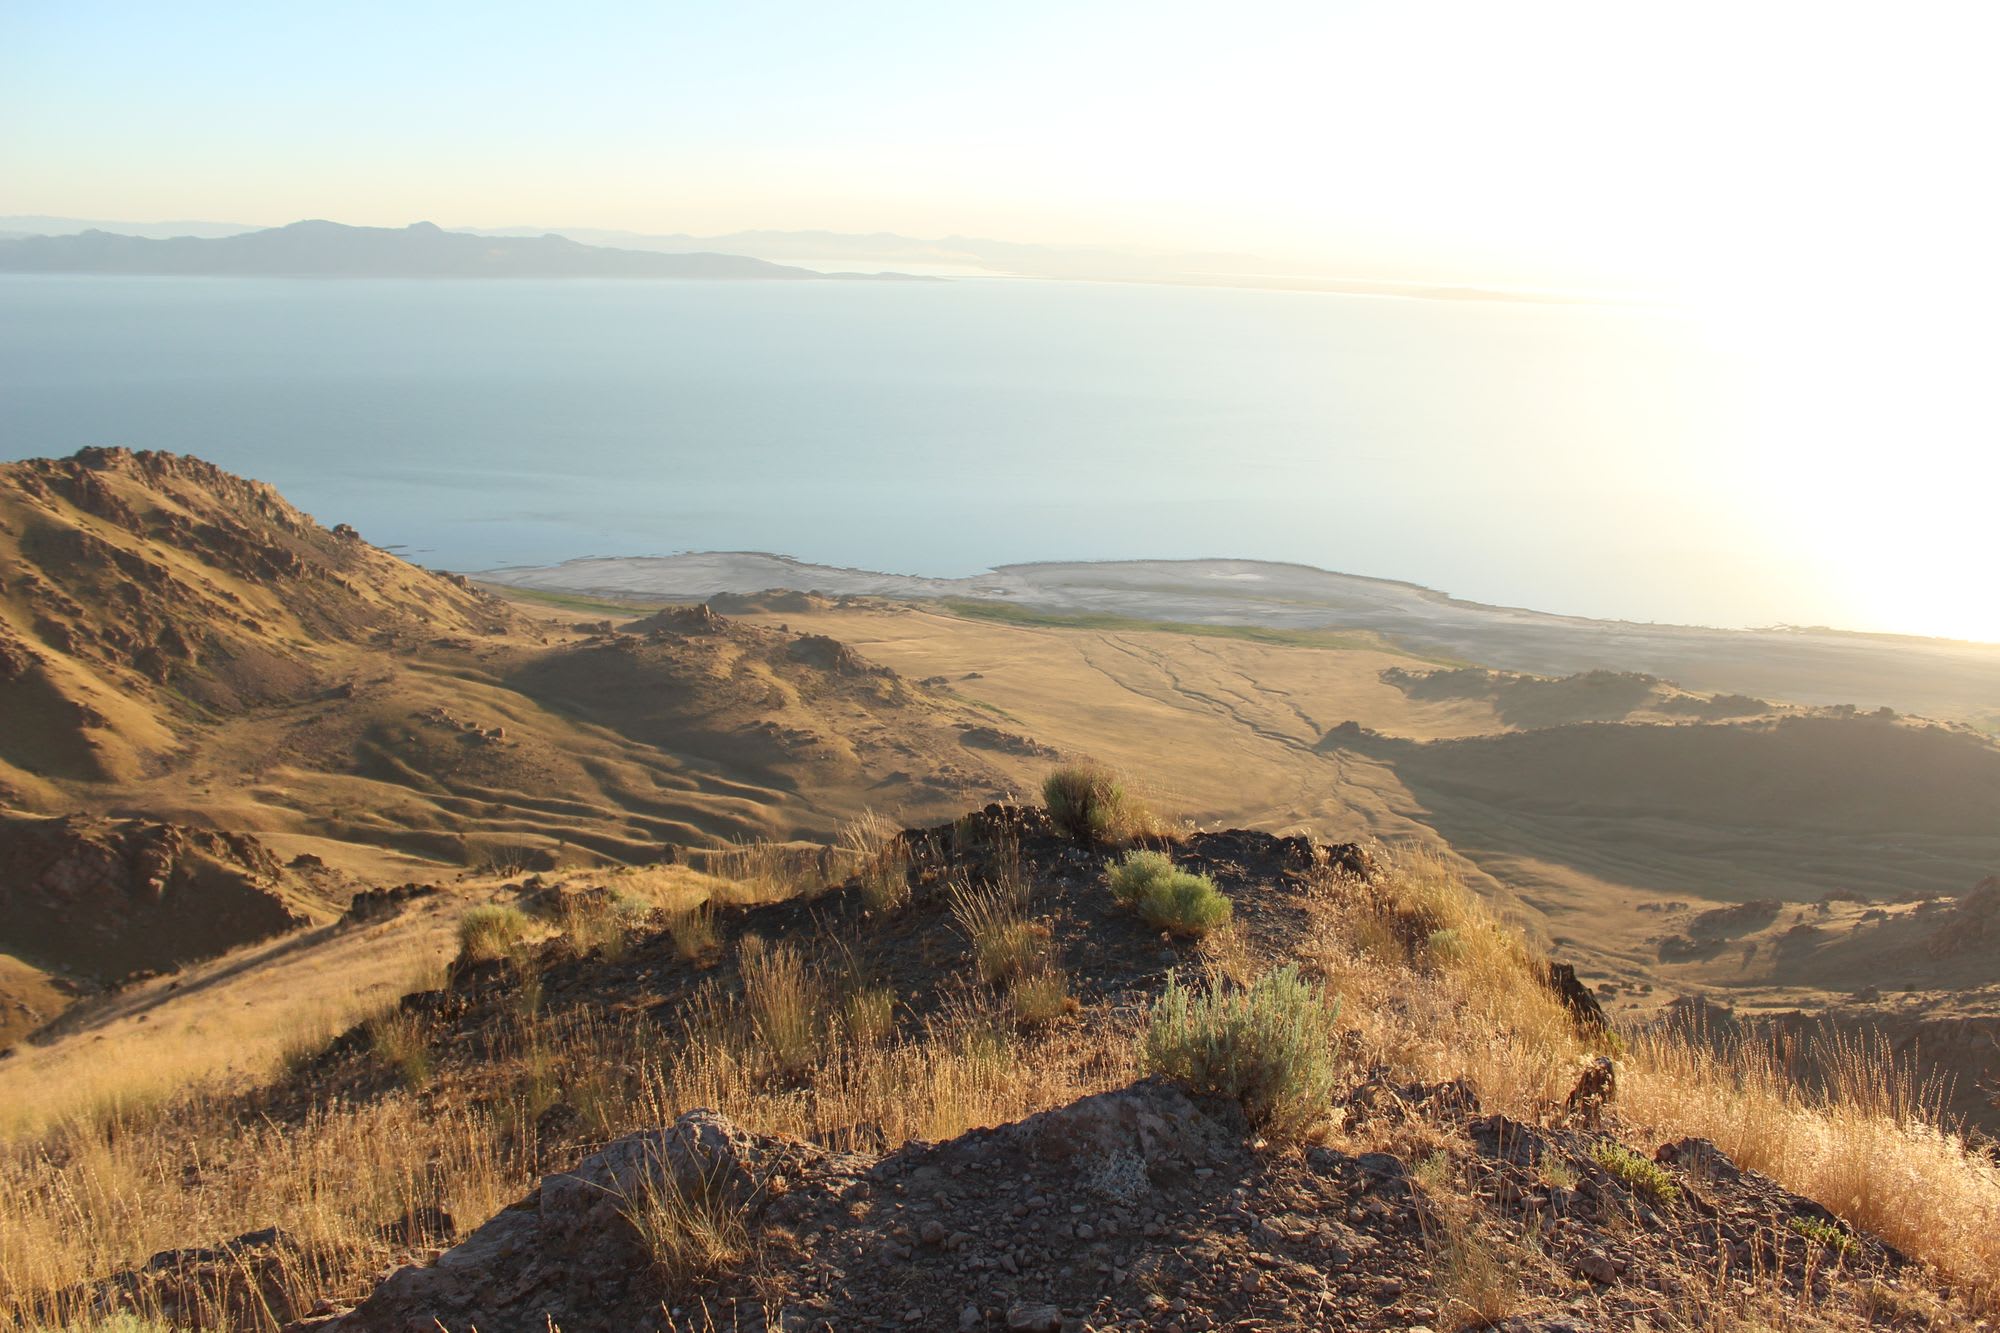
The true depth of a beautiful sunset can be hard to capture in a single photo. There is a majesty and depth that I feel as I relax on a mountain top after a grueling evening hike. Reflecting on the twilight landscape as the air cools and the fauna become more active brings excited shivers down my spine. To bring that feeling a little closer to home long after the day has finished, I will set up the DSLR camera and shoot a series of shots to capture the splendor of the moment.
These pictures were taken from Antelope Island near Salt Lake City, UT on a gorgeous July evening.
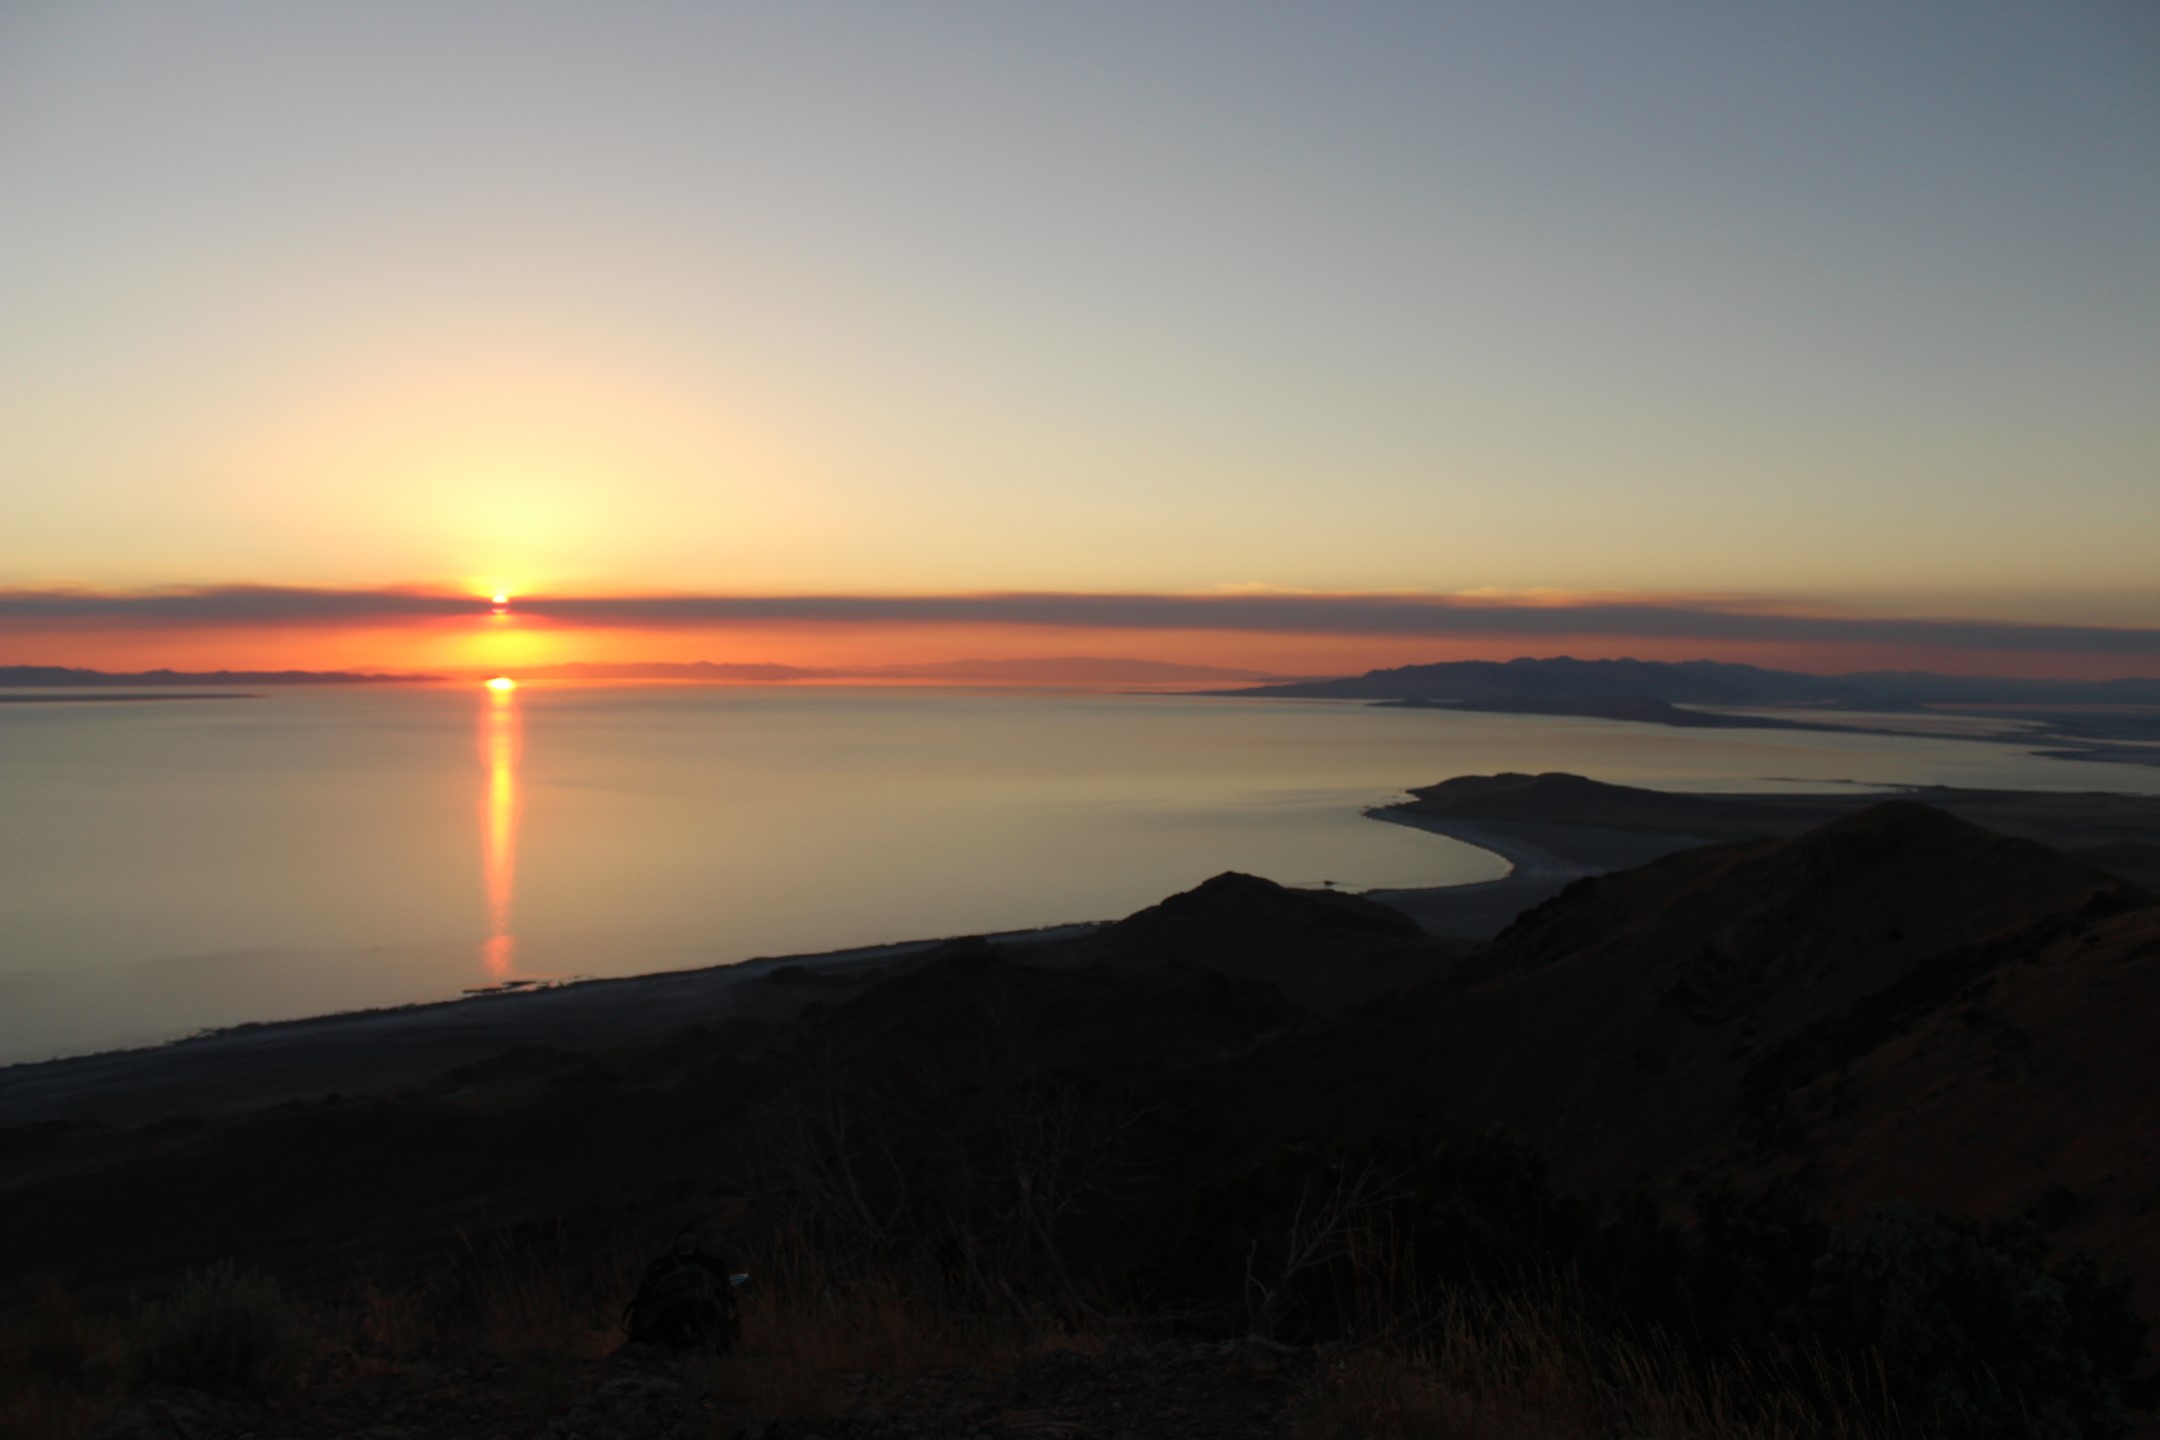
The key to doing this is taking a photo every 2-10 seconds (I lean towards one photo every 3 seconds) for as long as it takes for the sun to go behind the horizon and the clouds to finally extinguish the burning reds and purples.
Basic equipment I used
- Camera - ok, duh... But a solid DSLR camera that has been focused and set to Manual mode will make this amazing.
- Tripod or camera stand - to set the camera in a stationary position for the entire sequence of photos
- Bulb - this is an external camera trigger so I can leave the camera attached to the tripod and take photos every X seconds until finished
- External Timer - this can be used in place of a bulb and offers a built-in timer that can be set to take a photo every X seconds for however long it is set
Cameras differ in their capabilities to shoot these photos, some offer Interval Timers directly in the software that you can set the required parameters and completely bypass the need for a bulb or external timer.
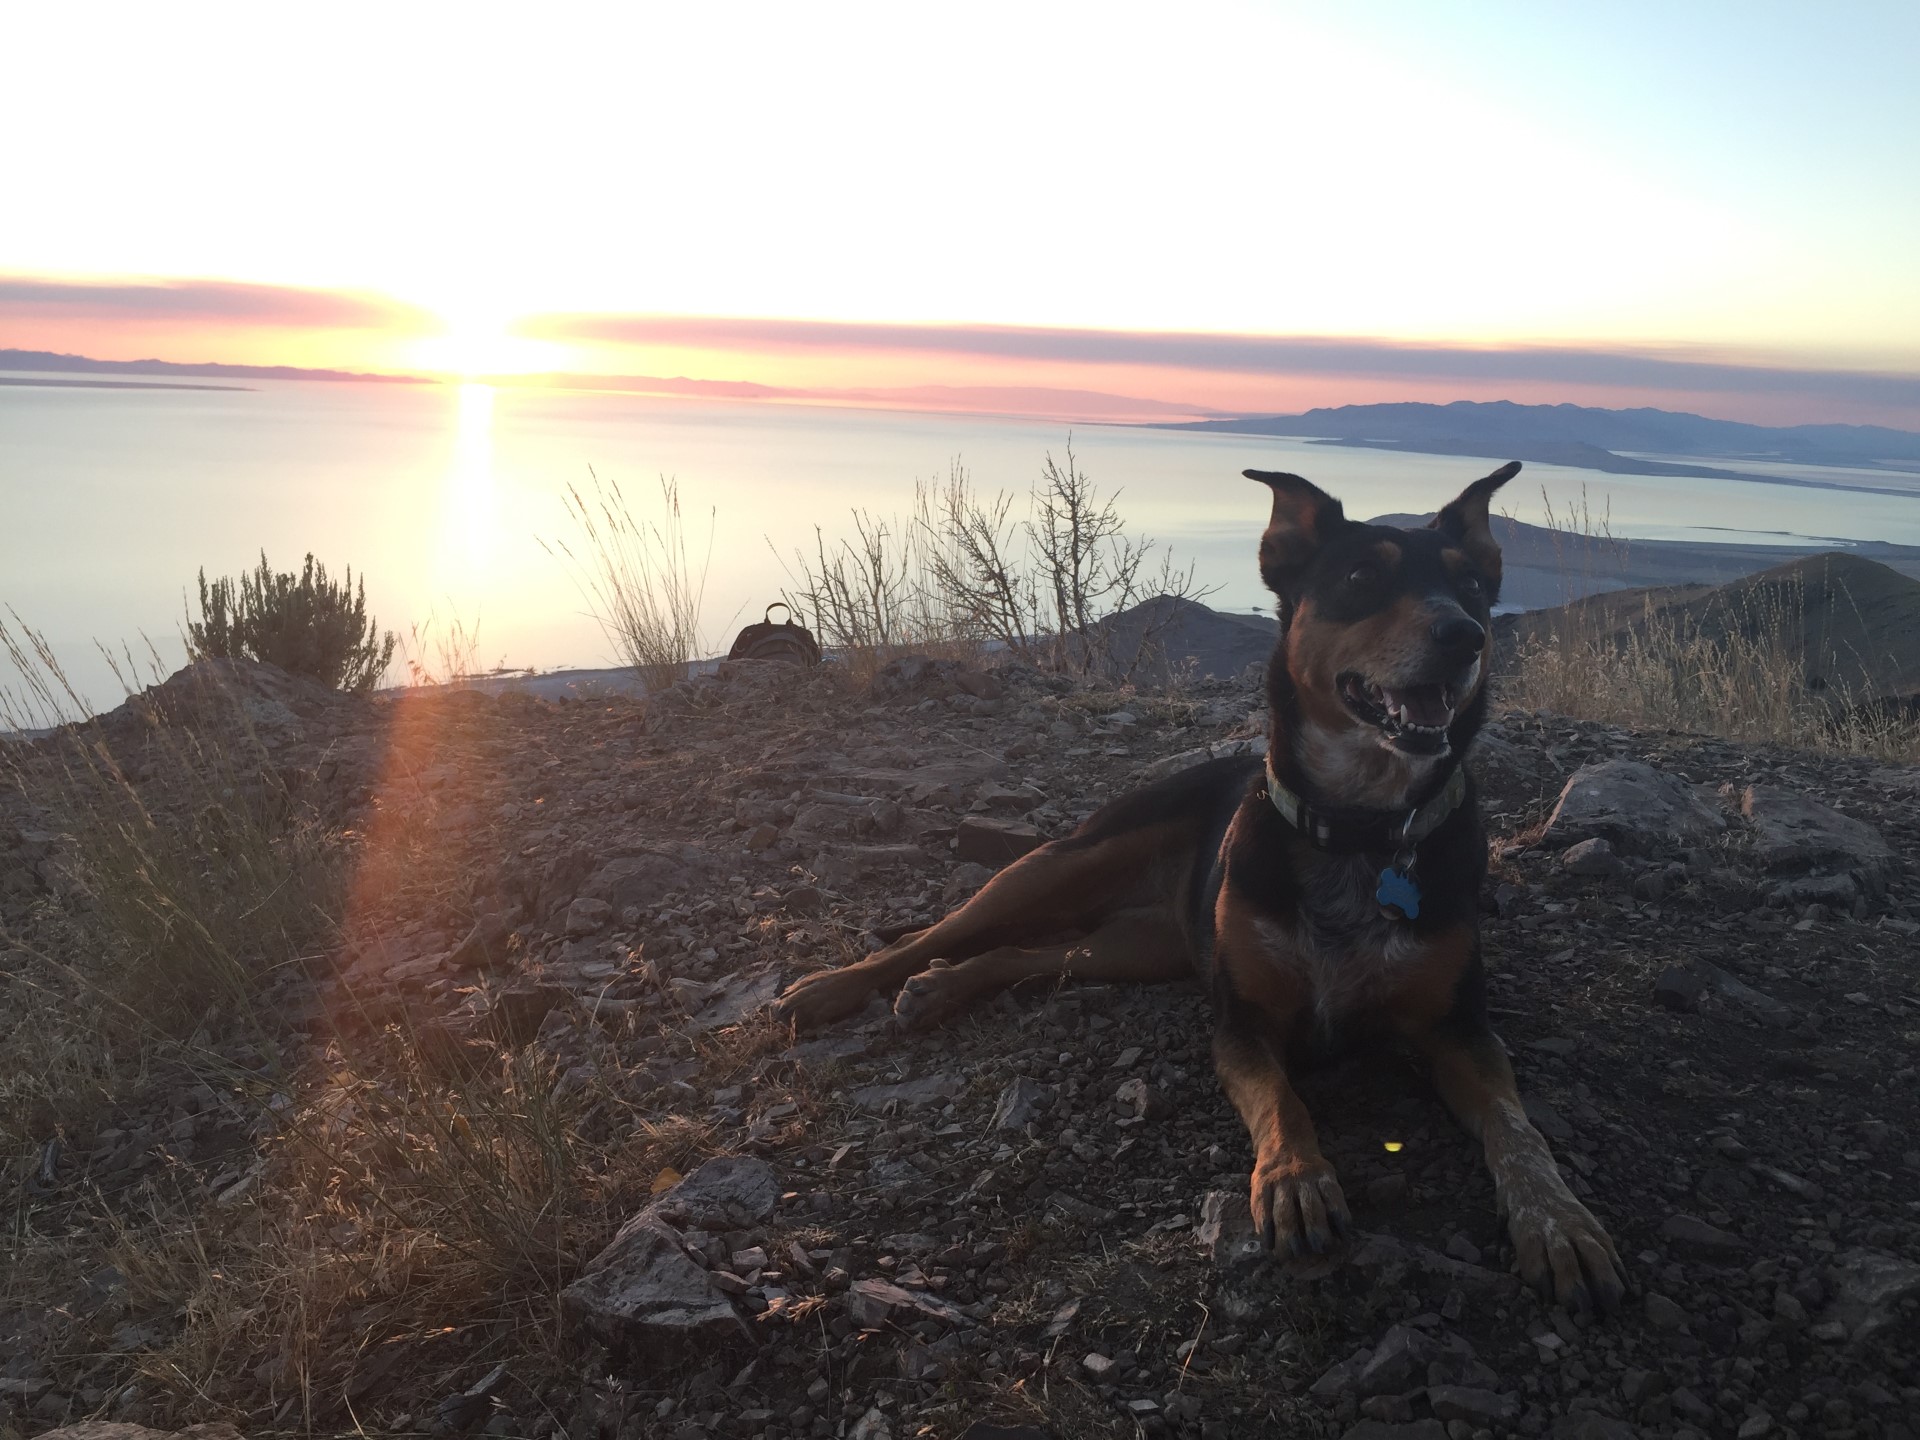
Bring the dog to take those night shots:
FFMPEG to turn Time Lapse Photos into Video
Use the ffmpeg program - http://ffmpeg.org, for options descriptions http://ffmpeg.org/ffmpeg.html
Arguments explained
Reference this site for detailed notes - http://lukemiller.org/index.php/2014/10/ffmpeg-time-lapse-notes/
Let’s break down those options:
-framerate 30= This is the input frame rate. It effectively says that you want each input image to appear on screen for 1/30 of a second. If you wanted each input image to appear on screen for a whole second, you’d use a -r 1. The default is 25. If you select a slower input frame rate than the output frame rate, ffmpeg will simply duplicate the input image appropriately so that it stays on screen for the desired amount of time.- -i image%04d.jpg = ffmpeg will look for input images that match this filename pattern. As with the discussion above on filename patterns, the %04d tells ffmpeg to look for a 4-digit number in the filename. If you used %05d to generate your captured images, you’d want to use %05d here as well.
-c:v libx264= This specifies the video encoding to be used. libx264 is a good default choice for high quality and low file size, and should be readable by all sorts of video players. It may or may not work in some versions of PowerPoint on some operating systems, so check that before you get too excited about adding video into your presentations. It is possible to output as a wmv file or other formats, so search the web if you need a different format.-r 30= specifies the framerate of the final movie. 30 frames per second is fairly standard, 24 fps is also common, and you could do something like 48 or 60 if you have special needs.outputfile.mp4= the filename and format. As before, you can specify a different directory path to put the file into, otherwise it will appear in the current working directory. The .mp4 format should work on most web and mobile devices, and uploads to Youtube just fine.
My additional argument
Note, I also added an argument of my own to fix support for Win10 built-in players:
-pix_fmt yuv420p- Found this solution on StackOverflow. my libx264 videos were not playing natively in Windows using the Win10 "Movies and TV" app or even the "Windows Media Player". Subsequently, they would not play on OneDrive either. FFMPEG has a hilarious description for this argument:-
Encoding for dumb players: You may need to use -vf format=yuv420p (or the alias -pix_fmt yuv420p) for your output to work in QuickTime and most other players. These players only support the YUV planar color space with 4:2:0 chroma subsampling for H.264 video. Otherwise, depending on your source, ffmpeg may output to a pixel format that may be incompatible with these players.
-
-preset veryslow- This tells the libx264 algorithm to create a more highly compressed video at the expense of taking a much longer time to encode. For me, the time to encode went up by about 3 times (~20 secs to 60 secs encoding time), but also did reduce the file size by about 30% (from 3.8 to 2.4 MB video file size). If you're not in a hurry, set it toverysloworslowto save on space without losing fidelity.
My code
This will turn 195 photos into a 20 frame per second (FPS) HD (1080p) video from images in the tlv directory under the current folder (relative to the CMD prompt) from image starting with number IMG_4773.
ffmpeg -framerate 20 -r 20 -start_number 4773 -i tlv\IMG_%04d.JPG -s:v 1920x1080 -c:v libx264 -preset veryslow -pix_fmt yuv420p OUTPUT20fps_vslow_pixfmt.mp4
Play around with the framerates to get a feel for how it changes your video.
Results and Thoughts
30 FPS is good, but a bit fast. :-)
Check out the video I created off of my photos:
Perhaps not the most dramatic sunset video, but I am still working on the capture skills. I hope this helps to create your dramatic TLV capture!